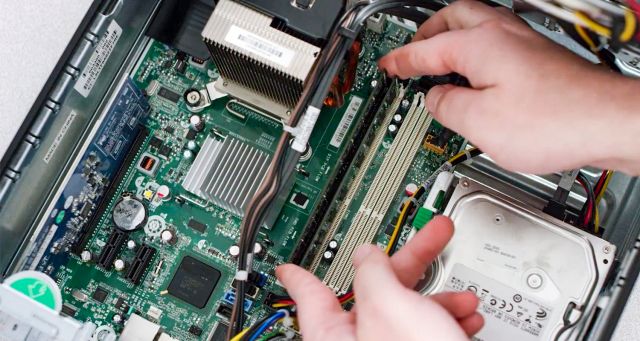
How to upgrade RAM on a desktop computer
Upgrading the RAM on your desktop computer in April 2025 is a straightforward process that can yield significant performance benefits. By following these steps carefully, you can give your PC a new lease on life and enjoy a faster, more efficient computing experience.