Liam earned an M.Ed. in Counseling after a B.S. in Psychology and has 9 years of experience creating evidence informed guidance for families, teachers, and community groups. His specialties include communication skills, conflict resolution, digital balance, and culture reporting that centers people. He has presented at a regional educators conference and contributed to nonprofit curriculum guides. Liam enjoys long city walks, jazz piano, and board games. He edits our relationships line, writes conversation templates and checklists, and partners with the news desk when social trends shape everyday life.
Learn how to manually update drivers in Windows for optimal performance and troubleshooting. A step-by-step guide covering Device Manager, manufacturer websites, and more.
Solve your "HDMI not working" problem on Windows laptops! This guide covers common fixes from checking cables and display settings to updating graphics drivers.
Boost your Windows productivity by mastering essential keyboard shortcuts. Learn how to navigate, manage windows, edit text, and streamline your workflow with key combinations.
Learn how to flush DNS on Windows using the Command Line. Resolve internet connectivity issues, access updated websites, and enhance privacy by clearing your DNS cache.
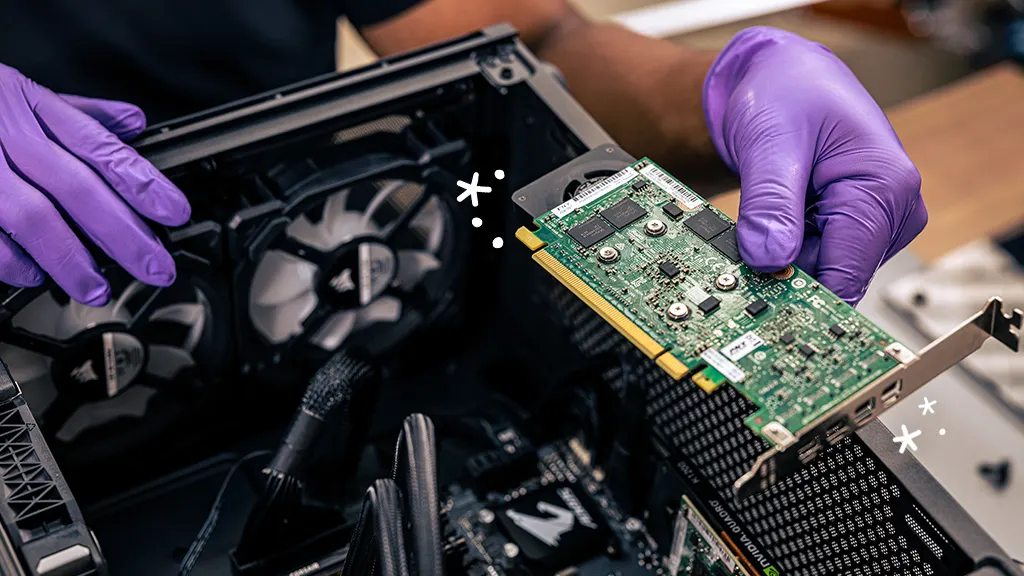
Upgrade your PC graphics card in April 2025! This detailed guide covers compatibility, step-by-step installation, and driver setup for a visual boost in Delhi & beyond.
Running emulator games on your PC in April 2025 is a straightforward process that allows you to enjoy classic games from various consoles. By choosing the right emulator, obtaining ROMs responsibly, configuring your settings, and loading your games, you can relive the magic of retro gaming on your modern computer.
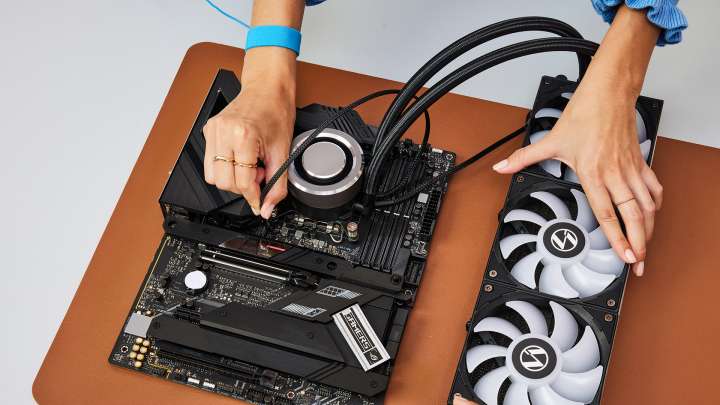
Connecting the internal components of your PC build in April 2025 requires careful attention to detail. By following these steps and consulting your component manuals, you can ensure a successful and functional build.