Smart glasses are wearable computer glasses that add information to what you see or, in some cases, provide audio-based AI assistance directly into your ears. The idea has been around for a while. Google Glass, which launched back in 2013, was many people’s first exposure to the concept. It did not quite land the way Google hoped, but it did open the door.
Today’s smart glasses market looks more refined and, honestly, more practical. It has mostly settled into two clear categories. There are AR glasses, which include visual displays, and audio-only smart glasses, such as Ray-Ban Meta, which focus on sound, voice commands, and camera features rather than on-screen visuals.
If you are setting up your first pair, it may feel a bit more involved than pairing a regular set of wireless earbuds. That is normal. These devices rely heavily on software, permissions, and firmware working together. This guide walks through the universal setup process so your hardware and apps stay properly synced from the start.
Step 1: Unbox and Identify Your Model
Before you plug anything in or download an app, take a moment to identify exactly what type of smart glasses you have. The overall setup flow is similar, but a few steps can vary depending on the category.
Audio and camera smart glasses include devices like Ray-Ban Meta or Amazon Echo Frames. These focus on voice assistants, music playback, phone calls, and capturing photos or short videos.
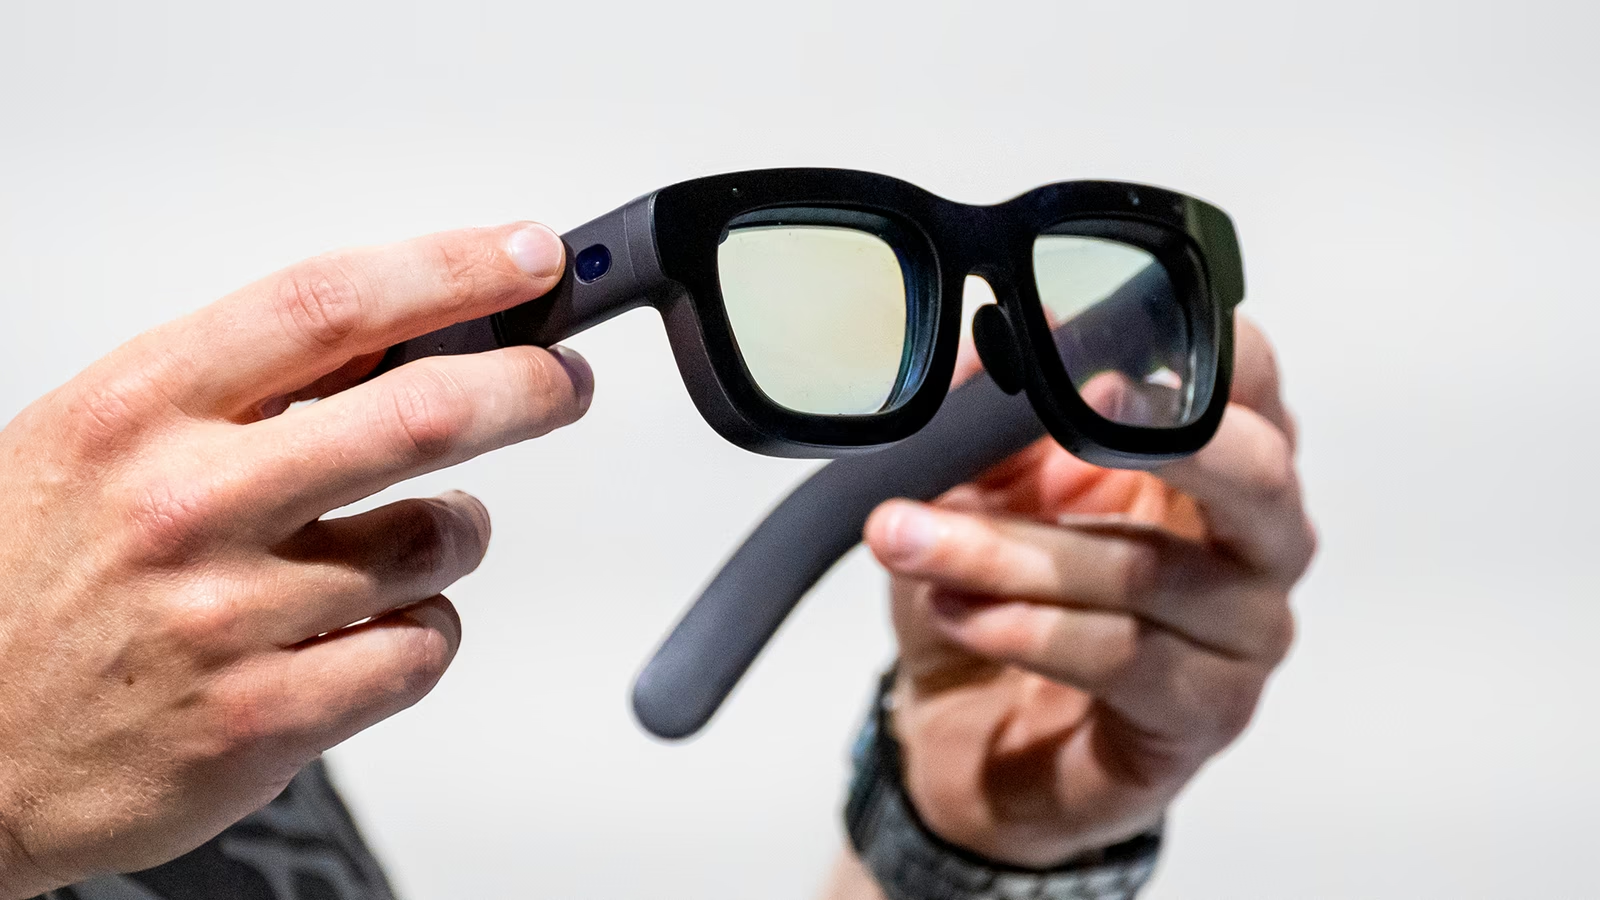
Augmented reality glasses include models such as Xreal Air or Viture Pro. These project a virtual display in front of your eyes and often rely on a wired connection to your phone or a separate processing device, sometimes called a puck.
Knowing which category, you are working with helps avoid confusion later, especially when it comes to video output or calibration.
Step 2: Initial Charging
Most smart glasses ship with a partially charged battery, usually somewhere between 30 and 50 percent. That might sound fine, but it often is not enough. Many devices require a firmware update during first-time setup, and those updates can fail if the battery level drops too low.
Place the glasses into their charging case, making sure they sit correctly on the charging contacts.
Connect the case to a power source using the included USB-C cable.
Wait until the LED indicator turns solid or green. This usually takes around 30 to 60 minutes, depending on the model.
It can feel a bit slow, especially when you just want to try them on, but this step prevents a lot of setup problems later.
Step 3: Install the Companion App
Smart glasses do not really function as smart devices on their own. They rely on a smartphone app to handle settings, updates, permissions, and AI features. This app acts as the bridge between the glasses and everything else.
Download the correct app for your brand:
Meta View App for Ray-Ban Meta glasses.
Nebula App for Xreal glasses.
Amazon Alexa App for Echo Frames.
My Glasses or Viture app for Viture devices.
Before opening the app, make sure your phone’s Bluetooth and Location Services are turned on. Some people skip this and then wonder why the app cannot find the glasses. It is a small detail, but it matters.
Step 4: Pairing via Bluetooth
Once the app is installed, it is time to pair the glasses with your phone. This is where the devices perform their initial handshake.
First, put the glasses into pairing mode. Most models use a physical switch on the arm, or they require you to hold a button on the charging case until an LED start flashing blue.
Open the app and select Add New Device or a similar option.
When your phone displays a pairing request, tap Pair and allow notifications when prompted.
The pairing process usually finishes within a few seconds, although the first connection sometimes takes a bit longer than expected.
Step 5: Update the Firmware
After pairing, the app will almost certainly notify you that a firmware update is available. This is normal, even for brand-new devices.
Keep the glasses close to your phone during the update.
Do not close the app or turn off the glasses while the update is running.
Firmware is the low-level software that controls how the hardware behaves. These updates often fix early bugs, improve battery life, and sometimes unlock new features. Skipping this step can lead to odd behavior later, so it is worth the wait.
Step 6: Calibrate and Fit
For AR glasses especially, proper fit and calibration make a noticeable difference. If the display feels slightly off, it can be distracting, or even uncomfortable.
Adjust the nose pads first. Most brands include multiple sizes. The glasses should sit high enough that you can see the full digital display without tilting your head or straining your eyes.
Adjust the temples if your model allows it. Some arms can tilt up or down to align the image with your pupils more accurately.
If you wear prescription glasses, you will likely need a prescription lens insert. Most smart glasses are not designed to fit comfortably over regular eyewear and trying to force it usually leads to poor alignment and fogging.
This step can take a few minutes of trial and error. That is normal, and it is time well spent.
Troubleshooting Common Setup Issues
Even when you follow every step, things do not always go perfectly the first time. A few common problems show up again and again.
If the glasses are not found during pairing, reset Bluetooth on your phone. If that does not help, perform a hard reset on the glasses, usually by holding the power button for 10 to 15 seconds.
If you hear audio but see no video on AR glasses, check whether your phone supports DisplayPort Alt Mode over USB-C. Many mid-range Android phones do not support video output, which can be frustrating if you were not expecting it.
If the lenses fog up during use, the glasses may be sitting too close to your face. Switching to a larger nose bridge often improves airflow and reduces fogging.
Once everything is set up and adjusted, smart glasses tend to fade into the background in a good way. They feel less like a gadget you are managing and more like something you simply wear and use, which, I think, is exactly how this technology is supposed to work.
Frequently Asked Questions (FAQ)
Q. Do I need a subscription to use smart glasses?
A. Generally, no. Most hardware features work for free. However, some advanced AI features or cloud storage for videos (like with certain enterprise-grade glasses) may eventually require a monthly fee.
Q. Can I use smart glasses without a phone?
A. Most smart glasses act as “peripherals.” While you can use them to take photos or listen to music offline, you need a phone to view the photos, update the software, or use GPS features.
Q. Are smart glasses waterproof?
A. Most are water-resistant (IPX4), meaning they can handle light rain or sweat. You should never submerge them in water or wear them while swimming.
Q. How long does the battery typically last?
A. For audio/camera glasses, expect 4 to 6 hours of mixed use. For AR glasses plugged into your phone, they will draw power from your phone’s battery, usually draining it significantly faster than normal screen use.