Maintaining optimal temperatures inside your PC is crucial for its performance, stability, and longevity. Overheating can lead to system slowdowns, crashes, and even permanent damage to components like your CPU and GPU. Your PC’s fans are the primary mechanism for moving air and dissipating heat. Knowing how to monitor fan speed and adjust cooling settings empowers you to keep your system running efficiently, quietly, and cool. This guide will walk you through the various methods to check fan RPMs and control your PC’s cooling profile.
Why Monitor Fan Speed and Adjust Cooling?
Understanding and controlling your PC’s fans offers several benefits:
- Prevent Overheating: Ensure components stay within safe operating temperature ranges, especially under heavy load.
- Optimize Performance: Components like CPUs and GPUs can “throttle” (reduce their speed) when too hot, leading to performance drops. Proper cooling prevents this.
- Reduce Noise: Set fan curves to run quieter during light tasks and only ramp up when temperatures demand it.
- Diagnose Issues: Unusual fan speeds (too high or too low) can indicate a problem with a fan, sensor, or dust buildup.
- Extend Component Lifespan: Consistent high temperatures can shorten the lifespan of electronic components.
Understanding PC Fans and Their Connections
Before we dive into monitoring and adjusting, let’s briefly look at the types of fans and how they connect to your motherboard:
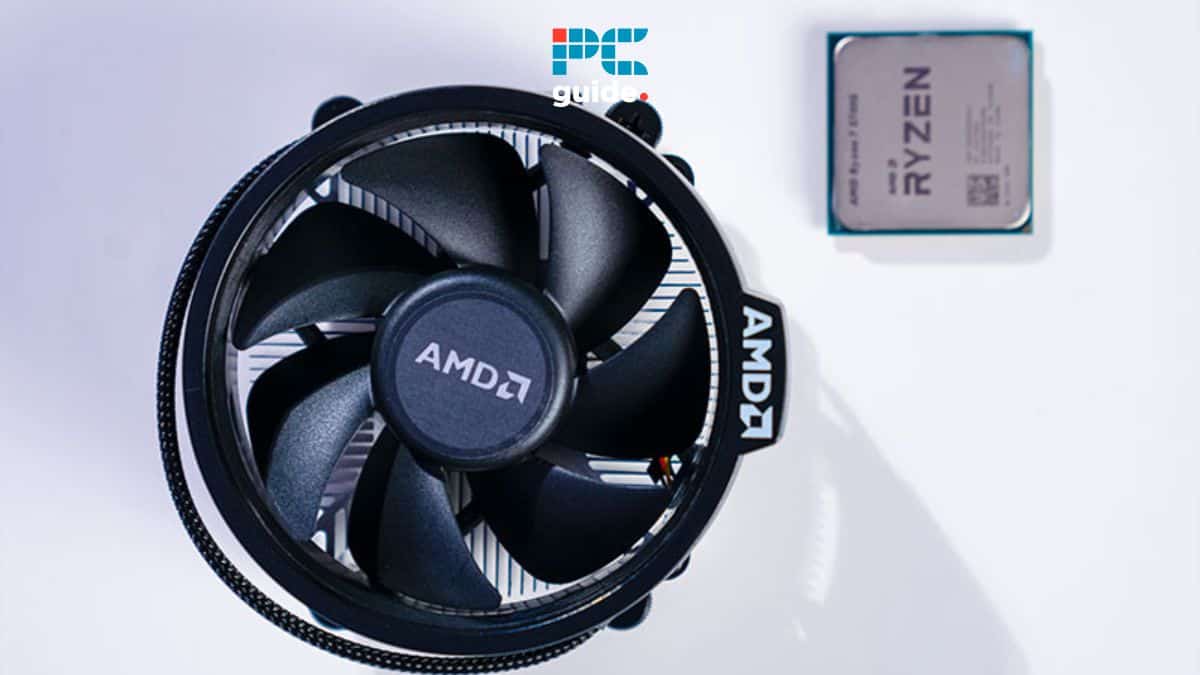
- CPU Fan: Cools your processor. Almost always connected to a dedicated CPU_FAN header on the motherboard.
- Case Fans: Move air in and out of your PC case. Connected to SYS_FAN, CHA_FAN, or similar headers.
- GPU Fans: Integrated into your graphics card. Controlled by the GPU’s own BIOS and drivers, though some software can influence them.
- PSU Fan: Integrated into your power supply. Usually self-regulating and not user-adjustable.
Most adjustable fans connect via 3-pin (voltage control) or 4-pin (PWM – Pulse Width Modulation – for more precise digital control) headers. PWM fans offer better control.
Step-by-Step Guide: How to Monitor Fan Speed
There are several ways to check your PC’s fan speeds, from simple software to more advanced monitoring tools.
Step 1: Use BIOS/UEFI Settings (Initial Check & Basic Control)
Your PC’s BIOS (Basic Input/Output System) or UEFI (Unified Extensible Firmware Interface) offers the most direct way to monitor fan speed and often provides basic control without needing additional software.
- Reboot Your PC: Restart your computer.
- Enter BIOS/UEFI: As your PC starts, repeatedly press the designated key to enter BIOS/UEFI setup. Common keys include Del, F2, F10, F12, or Esc. The specific key is usually displayed on the screen during startup.
- Navigate to Fan/Monitor Section: Once in BIOS/UEFI, look for sections labeled “PC Health Status,” “Hardware Monitor,” “Monitor,” “Fan Control,” or “Q-Fan Control” (on ASUS boards).
- View Fan RPMs: Here, you should see the fan speed (measured in RPM – Revolutions Per Minute) for your CPU fan and connected case fans. You might also see temperature readings for your CPU and motherboard.
- Basic Fan Control: Many BIOS/UEFI settings offer simple fan control options like “Standard,” “Silent,” “Performance,” or “Manual.” In manual mode, you might be able to set a basic fan curve based on temperature.
- Exit BIOS/UEFI: Save your changes and exit.
Step 2: Use Third-Party Monitoring Software (Recommended for Windows)
For real-time, in-depth fan speed monitoring and temperature tracking while in Windows, third-party software is essential.
- Choose a Reliable Software:
- HWMonitor: A simple, lightweight tool that displays a wide range of sensor readings, including fan RPMs, temperatures (CPU, GPU, motherboard), and voltages. It’s excellent for just monitoring.
- HWInfo64: More comprehensive than HWMonitor, providing even more detailed sensor data. Can be overwhelming initially but offers invaluable information.
- SpeedFan (Older, but still works for some): An older but still popular tool that can monitor temperatures and fan speeds, and sometimes allows for direct fan control on older motherboards. Its interface can be less intuitive.
- Open Hardware Monitor: Another free, open-source option for monitoring.
- Manufacturer-Specific Software: Your motherboard manufacturer (e.g., ASUS AI Suite, MSI Dragon Center, Gigabyte System Information Viewer) or GPU manufacturer (e.g., MSI Afterburner, ASUS GPU Tweak) often provides their own monitoring and control utilities. These are highly recommended as they are tailored to your specific hardware.
- Download and Install: Download the chosen software from its official website. Be cautious of unofficial download sites.
- Launch and Interpret: Run the software. You’ll typically see a list of detected sensors. Look for entries labeled “FanX” or “RPM” for your CPU fan and other case fans. You’ll also see CPU and GPU temperatures.
- Monitor During Load: To get meaningful readings, monitor fan speed while performing demanding tasks (e.g., gaming, video encoding) to see how fans respond to increased heat.
Step-by-Step Guide: How to Adjust Cooling (Fan Speed)
Adjusting your PC’s cooling involves setting fan curves – telling your fans how fast to spin at certain temperatures. This allows for a balance between performance and noise.
Method 1: Adjust Cooling via BIOS/UEFI (Universal & Stable)
This is the most reliable way to adjust cooling settings, as these settings are applied at a hardware level before the operating system even loads.
- Enter BIOS/UEFI: Follow Step 1 from the “How to Monitor Fan Speed” section to enter your BIOS/UEFI.
- Navigate to Fan Control: Find the “Fan Control” or “Monitor” section. It might be under “Advanced,” “Peripherals,” or “Hardware Monitor.”
- Locate Fan Headers: You’ll typically see entries for “CPU Fan,” “CHA_FAN1,” “SYS_FAN2,” etc.
- Choose Control Mode: For each fan, you’ll usually have options:
- Auto/Standard: Motherboard automatically manages fan speed based on preset curves.
- Silent: Prioritizes low noise, fans spin slower.
- Performance/Turbo: Prioritizes cooling, fans spin faster.
- Manual/Custom: This is where you can adjust cooling precisely. You’ll typically set a series of “temperature points” and a corresponding “fan speed percentage” (or RPM) for each point. For example:
- 30°C: 30% speed
- 50°C: 60% speed
- 70°C: 90% speed
- 85°C: 100% speed
- Adjust Fan Curves: Create or modify these fan curves to your preference. A good starting point is to have fans run quietly at idle temperatures and gradually ramp up as temperatures increase. Avoid sudden jumps in speed, as this can be jarring.
- Save and Exit: Save your changes and exit BIOS/UEFI. Test your new settings under various loads.
Method 2: Adjust Cooling via Motherboard Manufacturer Software (Windows)
Many motherboard manufacturers provide dedicated software that allows you to adjust cooling settings directly within Windows, often with a more user-friendly graphical interface than BIOS.
- Identify Software: Check your motherboard manufacturer’s website (e.g., ASUS, MSI, Gigabyte, ASRock) for their utility suite. Examples include:
- ASUS: AI Suite (with Fan Xpert)
- MSI: Dragon Center / MSI Center (with Frozr AI Cooling)
- Gigabyte: System Information Viewer (SIV) / RGB Fusion
- ASRock: A-Tuning / Polychrome Sync
- Download and Install: Download the latest version of the utility suite compatible with your specific motherboard model.
- Launch Software: Open the installed software.
- Navigate to Fan Control: Look for a section related to “Fan Control,” “Cooling,” or “System Tuning.”
- Adjust Fan Curves: You’ll usually find options to select individual fans (CPU fan, case fans) and then adjust their fan curves using a drag-and-drop interface or by entering values. These tools often allow you to test fan speeds and monitor temperatures live.
- Apply Settings: Apply the new settings. Most of these tools can save profiles for different scenarios (e.g., “Gaming,” “Silent,” “Default”).
Method 3: Adjust Cooling via GPU-Specific Software (for Graphics Card Fans)
Your graphics card has its own cooling solution, typically controlled by its own BIOS. However, software allows you to override default settings for better performance or quieter operation.
- Choose GPU Software:
- MSI Afterburner: The most popular and versatile tool for GPU overclocking, monitoring, and fan control. Works with both NVIDIA and AMD GPUs.
- ASUS GPU Tweak II/III: For ASUS graphics cards.
- Gigabyte AORUS Engine: For Gigabyte graphics cards.
- AMD Radeon Software / NVIDIA GeForce Experience: The official driver suites from AMD and NVIDIA also offer some basic fan control options, though Afterburner provides more granular control.
- Download and Install: Download the software from the GPU manufacturer’s website or the tool’s official page (e.g., Guru3D for MSI Afterburner).
- Launch and Navigate: Open the software and find the fan control section. In MSI Afterburner, toggle the “User Defined” fan speed control to enable custom fan curves.
- Adjust Fan Curve: Create a custom fan curve by setting temperature points and corresponding fan speeds (percentage). For example, you might want your GPU fans to stay off below 50°C for silence at idle, and then gradually ramp up.
- Apply and Test: Apply the new fan curve. It’s crucial to test these settings under load to ensure stable temperatures and acceptable noise levels. Be cautious with aggressive fan curves that lead to excessive noise, or too passive ones that allow for overheating.
- Apply on Startup: Most GPU fan control software allows you to apply your custom fan curve automatically when Windows starts. This is usually an option you tick within the software.
General Tips for Effective PC Cooling
Beyond adjusting fan speeds, these practices contribute to better cooling:
- Clean Regularly: Dust is the enemy of cooling. Regularly clean your PC’s internal components, especially fans and heatsinks, using compressed air. Pay attention to CPU cooler fins, GPU heatsinks, and case fan blades.
- Optimal Airflow: Ensure your PC case has good airflow. Generally, aim for positive pressure (more intake fans than exhaust fans) to minimize dust intake, or balanced pressure. Make sure intake fans bring in cool air and exhaust fans push out hot air efficiently.
- Proper Cable Management: Tidy up internal cables. Cluttered cables can block airflow.
- Ambient Temperature: Operate your PC in a cool, well-ventilated room.
- Thermal Paste: If your CPU or GPU temperatures are consistently high even with good airflow and fan speeds, consider reapplying thermal paste between the CPU/GPU and their respective heatsinks. This is an advanced task and should be done carefully.
Conclusion
Knowing how to monitor fan speed and adjust cooling on your PC is a vital skill for any computer user. By utilizing your BIOS/UEFI, motherboard software, and GPU utilities, you gain precise control over your system’s thermal performance. This proactive approach not only helps prevent costly overheating issues but also allows you to find the perfect balance between keeping your PC cool and maintaining a quiet operating environment. Regular monitoring and occasional adjustments will ensure your PC runs optimally for years to come.


