Sharing your Windows PC with friends, family, or temporary visitors can be a common scenario. However, you likely don’t want them accessing your personal files, changing system settings, or installing unwanted software. While older versions of Windows had a dedicated “Guest” account, Windows 10 and 11 no longer offer this traditional, built-in feature with its specific ephemeral nature (where changes are erased upon logout).
Instead, the best way to create a guest account in Windows for modern PCs is to create a standard local user account with limited privileges. This achieves the same goal of providing safe, restricted access to your computer without compromising your main account or system integrity. This guide will walk you through the various methods to set up such an account.
Why Create a Guest-Like Account?
- Privacy: Keep your personal files, documents, photos, and Browse history private from temporary users.
- Security: Prevent guests from installing malware, making unauthorized system changes, or accessing administrative functions.
- System Stability: Ensure your core system settings remain untouched, preventing accidental (or intentional) disruptions.
- Clean Slate (Manual Reset): While not automatic like the old Guest account, you can manually delete and recreate this account to provide a fresh environment for each new “guest.”
Understanding User Account Types in Windows
Before we start, it’s helpful to know the two main types of user accounts in Windows:
- Administrator Account: Has full control over the PC, including installing software, changing system settings, and accessing all files. Your primary account should typically be an administrator.
- Standard User Account: Can run programs, save files in their own user folder, and browse the internet, but cannot install most software, change system settings, or access other users’ files without administrator password approval. This is the ideal type for a “guest” account.
Method 1: Using Windows Settings (Recommended for Most Users)
This is the most straightforward and user-friendly way to create a new local standard user account.
For Windows 11:
- Open Settings: Click the Start button and select Settings (the gear icon).
- Navigate to Other Users: In the Settings window, click “Accounts” in the left sidebar, then select “Family & other users” or directly “Other users.”
- Add Account: Under “Other users,” click the “Add account” button next to “Add other user.”
- Bypass Microsoft Account:
- A “Microsoft account” prompt will appear. Click “I don’t have this person’s sign-in information.”
- On the next screen, click “Add a user without a Microsoft account.”
- Create Local Account:
- Who’s going to use this PC?: Enter a generic username like “GuestUser,” “Visitor,” or any name you prefer (you cannot use “Guest” as it’s a reserved word, though it will function as a guest account).
- Password: You can leave the password fields blank if you want a password-free account for easy access. If you want a basic layer of security, enter a password and hint.
- Click “Next” to create the account.
- Verify Account Type:
- The account will be created as a Standard User by default, which is exactly what you want for a guest-like account.
- To confirm or change, back on the “Family & other users” screen, find the newly created account. Click on it, then select “Change account type”. Ensure “Standard User” is selected and click “OK.”
For Windows 10:
- Open Settings: Click the Start button and select Settings (the gear icon).
- Navigate to Family & other users: In the Settings window, click “Accounts“, then select “Family & other users” in the left sidebar.
- Add Account: Under “Other users,” click “Add someone else to this PC.“
- Bypass Microsoft Account:
- A “Microsoft account” prompt will appear. Click “I don’t have this person’s sign-in information.”
- On the next screen, click “Add a user without a Microsoft account.”
- Create Local Account:
- Who’s going to use this PC?: Enter a username like “GuestUser,” “Visitor,” or any suitable name.
- Password: You can leave the password fields blank.
- Click “Next” to create the account.
- Verify Account Type:
- The account will be created as a Standard User by default.
- To confirm or change, find the newly created account under “Other users,” click on it, then click “Change account type.” Ensure “Standard User” is selected and click “OK.”
Method 2: Using Command Prompt (For Advanced Users)
You can quickly create a local standard user account using Command Prompt.
Step-by-Step:
- Open Command Prompt as Administrator:
- Press Win + R, type cmd, and press Enter.
- Or, search for “Command Prompt” in the Start Menu, right-click, and select “Run as administrator.”
- Create the User Account: Type the following command and press Enter. Replace GuestUser with your desired username (e.g., Visitor).
DOS
net user GuestUser /add
(This creates a local user account named “GuestUser”).
- (Optional) Set a Password: If you want to set a password, type:
DOS
net user GuestUser *
You will be prompted to enter and confirm the password. Press Enter twice if you want no password.
- Add to Guests Group (For traditional guest-like behavior, though limited in modern Windows):
- This command attempts to add the newly created user to the “Guests” local group. While this group’s permissions are more restrictive, Windows 10/11’s “Guests” group doesn’t behave like the older ephemeral “Guest” account.
DOS
net localgroup guests GuestUser /add
- Remove from Users Group (Important for security): This ensures the account is not part of the general “Users” group, which usually has more permissions.
DOS
net localgroup users GuestUser /delete
(Note: For accounts created via Settings, they are often already “Standard Users” and not part of the “Guests” group, which is generally secure enough. This step is more relevant if you’re trying to replicate older “Guest” account behavior.)
- Exit Command Prompt: Type exit and press Enter.
Method 3: Using Computer Management (For Pro/Enterprise Users)
This method provides more granular control and is often used by IT professionals.
Step-by-Step:
- Open Computer Management:
- Right-click the Start button and select “Computer Management.”
- Alternatively, press Win + R, type compmgmt.msc, and press Enter.
- Navigate to Users: In the left pane, expand “Local Users and Groups“, then click on “Users.“
- Create New User: Right-click in the empty space in the right pane and select “New User…“
- Fill in Details:
- User name: Enter your desired name (e.g., GuestUser).
- Full name (Optional): Add a descriptive name.
- Description (Optional): Add a description like “Temporary guest account.”
- Password: Enter a password or leave it blank.
- Uncheck “User must change password at next logon.”
- Check “Password never expires.”
- Check “Account is disabled” (only if you want to create it disabled and enable later).
- Click “Create,” then “Close.”
- Set Account Type (Crucial):
- Right-click on the newly created user (e.g., GuestUser) and select “Properties.”
- Go to the “Member Of” tab.
- Select “Users” and click “Remove.”
- Click “Add…”
- In the “Select Groups” dialog, type “Guests” and click “Check Names,” then “OK.”
- Click “Apply” and “OK.”
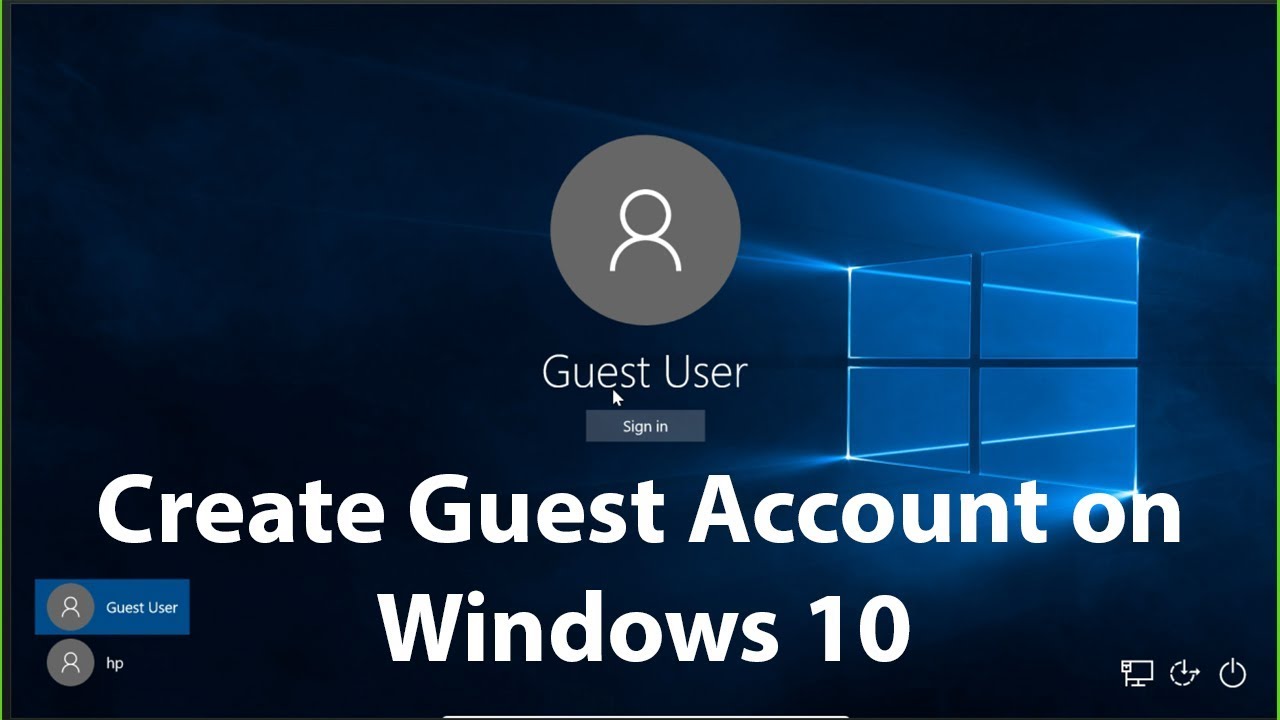
How to Access the Guest-Like Account
Once the account is created, you can switch to it from the login screen:
- Lock your PC: Press Win + L to lock your computer.
- Switch User: On the lock screen, click on the user icon (usually in the bottom left corner) to see a list of available user accounts.
- Select the Guest Account: Choose the “GuestUser” or “Visitor” account you created.
- Log In: If you set a password, enter it. If not, just press Enter.
Limitations of Modern “Guest” Accounts
It’s important to reiterate that the modern approach to creating a guest account in Windows 10/11 (a standard local user) differs from the traditional Guest account in older Windows versions:
- No Automatic Data Wipe: Any changes made by the “guest” (browser history, downloaded files, desktop icons, etc.) are not automatically erased when they log out. To truly clear the account, you would need to delete and recreate it.
- Limited Customization: While a standard user, it still doesn’t offer the same ephemeral nature as the old Guest account.
- Admin Privileges Still Required: Guests cannot install software or make system-wide changes without the administrator’s password.
- File Access: Standard users generally cannot access files in other user profiles unless permissions are explicitly changed by an administrator. However, files on public folders or root directories of other drives might be accessible. If you have sensitive data outside your user profile, consider setting explicit permissions on those folders to deny access to the “Guests” group or the specific guest user.
Creating a dedicated standard user account is the most effective and secure way to provide temporary, restricted access to your Windows PC. By following these steps, you can confidently share your computer while safeguarding your personal data and maintaining system integrity.