HP wireless printers offer incredible convenience, allowing you to print from virtually anywhere in your home or office without being tethered by cables. But let’s be honest—getting that initial connection set up can sometimes feel like a bit of a puzzle, especially considering the range of HP models and connection methods out there.
As someone who’s helped plenty of users through this process, I can tell you the real trick is just understanding two things: what your printer can do, and how your home Wi-Fi is set up. Whether you’re hooking up a brand-new printer or trying to reconnect one that’s been a little temperamental lately, this guide breaks down the most reliable ways to get everything running smoothly.
How to Use HP Wireless Printer: A Step-by-Step Guide Before anything else, make sure your HP wireless printer is ready: it’s unboxed, powered on, has paper loaded, and ink cartridges installed. Also, jot down your Wi-Fi network name (SSID) and password—you’ll need them shortly.
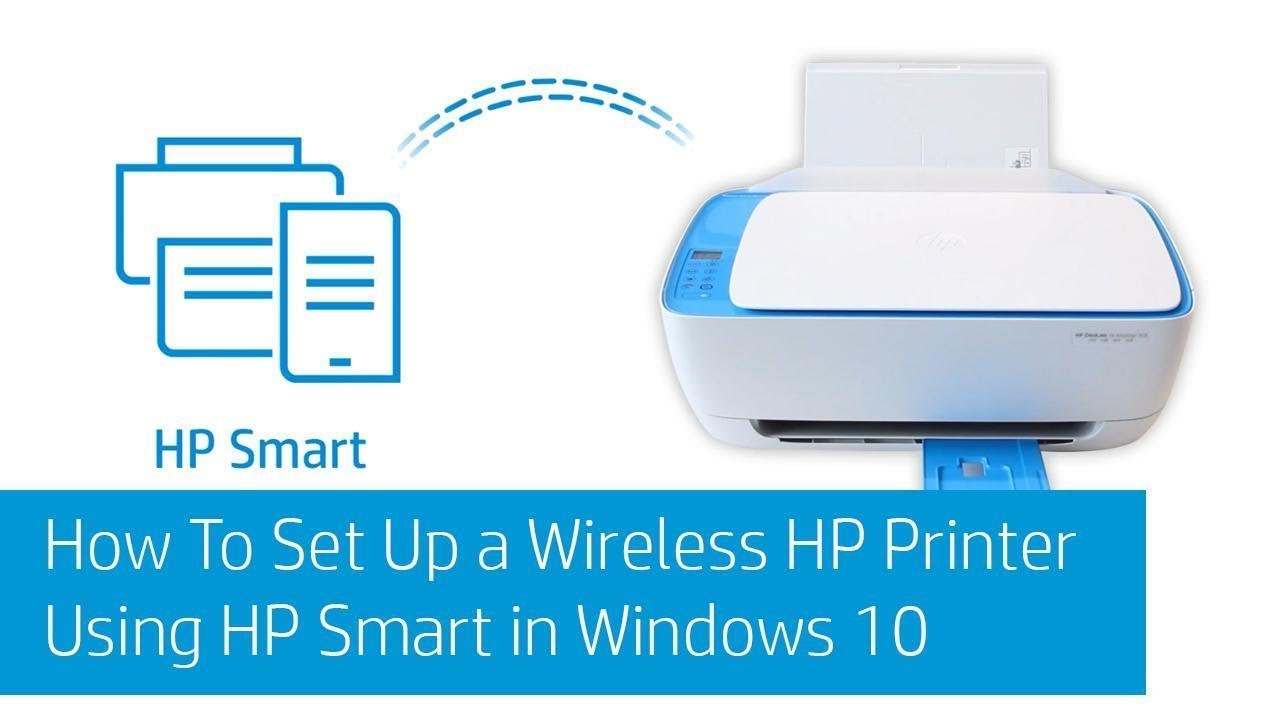
Method 1: Using the HP Smart App (Recommended for Most Users) The HP Smart app is HP’s go-to solution for setting up and managing your printer. It works across Windows, macOS, Android, and iOS, and it’s pretty intuitive once you’re in.
Step-by-Step Guide:
Download and Install HP Smart App:
- On your computer or mobile device, go to 123.hp.com or search for “HP Smart” in your app store.
- Download and install the app.
- Heads-up: If you’re using a VPN, it’s a good idea to turn it off for now—it can mess with the setup process.
Prepare Your Printer for Setup Mode:
- If it’s a new printer, setup mode should be active by default (usually indicated by a blinking blue wireless light).
- If not, or if you’re reconnecting, you might need to reset its network settings:
- Touchscreen printers: Navigate to Wireless or Setup > Network Setup > “Restore Network Settings.”
- Non-touchscreen models: Common reset methods include:
- Holding the Wireless button for 5 seconds until the light blinks.
- Holding Wireless + Cancel (X) buttons together for a few seconds.
- For HP DeskJet 6000/6400, ENVY 6000/6400, and Tango models: Hold Wi-Fi + Power buttons on the back for 3 seconds.
- If you’re unsure, your printer manual or HP’s website can help.
Open HP Smart App and Add Printer:
- Launch the app and sign in or create an HP account if needed.
- Click “Set Up a New Printer” or the “+ Add Printer” icon.
- Allow Bluetooth and location services if prompted—they help the app locate your printer.
- Select your printer when it appears.
Connect to Your Wi-Fi Network:
- The app walks you through connecting to Wi-Fi. If your device is already on the same network, the settings might transfer automatically.
- Otherwise, choose your Wi-Fi network and enter the password.
- On some models, you may need to confirm on the printer by pressing a flashing Info or checkmark button.
Complete Setup and Print:
- Follow any final prompts to enable features like HP+ (if applicable), register the printer, and install drivers.
- A solid blue wireless light means you’re good to go.
- You can now print, scan, and manage your printer from the HP Smart app.
Method 2: Using the Printer’s Control Panel (For Printers with a Display Screen) If your HP printer has a screen or control panel, you can usually handle setup directly from there—no computer needed initially.
Step-by-Step Guide:
Access Wireless Settings:
- On the control panel, go to Setup, Network, or Wireless settings (the name varies by model).
Run the Wireless Setup Wizard:
- Select “Wireless Setup Wizard.”
- The printer scans for available networks.
Select Your Network and Enter Password:
- Pick your Wi-Fi network from the list.
- Use the screen or arrow buttons to enter your Wi-Fi password (note: it’s case-sensitive).
Confirm Connection:
- Once connected, the wireless light should turn solid blue.
Install Drivers:
- Go to 123.hp.com from your computer.
- Enter your printer model and download the driver package. Choose wireless setup during installation.
Method 3: Using WPS (Wi-Fi Protected Setup) – Push Button Connect If both your printer and router support WPS, this is one of the fastest ways to connect—no password typing required.
Step-by-Step Guide:
Place Printer Near Router:
- Keep them close to ensure a smooth connection.
Enable WPS on Printer:
- Touchscreen: Navigate to Wireless settings and choose WPS > Push Button.
- Physical WPS button: Press and hold it until the wireless light blinks.
- Non-touchscreen: Usually involves holding the Wireless button for a few seconds.
Press WPS on Router:
- Within two minutes, press the WPS button on your router (often marked with a double arrow).
Wait for Connection:
- The printer should connect automatically. A solid blue wireless light indicates success.
Install Drivers:
- If you haven’t already, head to 123.hp.com and download the necessary drivers.
Method 4: Using HP Wi-Fi Direct (Direct Connection) No Wi-Fi? No problem. Wi-Fi Direct lets your device talk to the printer directly—great for guests or on-the-go printing.
Step-by-Step Guide:
Enable Wi-Fi Direct:
- Touchscreen: Look in Wireless or Network settings.
- Non-touchscreen: Press and hold the Wi-Fi Direct button, or print an info page to get details.
Find Network Name and Password:
- On the screen or info sheet, note the Wi-Fi Direct name (e.g., “DIRECT-HP-Print-XX”) and password.
Connect Your Device:
- Go to Wi-Fi settings and select the printer’s direct network.
- Enter the password.
Add Printer to Device:
- Windows: Settings > Bluetooth & devices > Printers & scanners > Add device.
- macOS: System Settings > Printers & Scanners > “+” to add.
Print:
- Choose the document, select your printer, and hit print.
Important: You’ll need to reconnect to your usual Wi-Fi to get back online afterward.
Troubleshooting Common Wireless Printer Issues Even with a smooth setup, hiccups can happen. Here’s what to try if things go sideways:
Printer Not Found:
- Make sure it’s powered on and wireless light is either blinking (setup mode) or solid (connected).
- Confirm both printer and device are on the same network.
- Try restarting everything—printer, router, and computer.
- Reduce the distance to your router.
- Temporarily disable firewall or antivirus to test connectivity (just remember to re-enable it).
Print Job Stuck:
- Check for paper and ink.
- Open print queue and cancel the job.
- On Windows, restart Print Spooler: Search “Services,” find “Print Spooler,” right-click > Restart.
Slow Printing or Connection Drops:
- Improve signal strength—move printer/router closer, try a Wi-Fi extender.
- Check for router firmware updates.
- Reduce interference by moving away from other electronics.
Driver Issues:
- Download the latest drivers from 123.hp.com.
- Try HP Print and Scan Doctor for diagnostics (Windows only).
Once your HP wireless printer is set up properly, it really does open up a new level of convenience for both work and personal use. Hopefully this guide gave you the clarity and confidence to get everything running just the way you want it.