Changing your Apple ID email might seem risky at first—especially if you’re worried about losing important data like photos, contacts, app purchases, or iCloud backups. But the truth is, you can change your Apple ID email without losing any data—if you follow the correct steps.
I’ve personally helped friends and clients change their Apple ID email without issues, and in this guide, I’ll walk you through a detailed, foolproof process based on real usage, Apple documentation, and best practices. This article is meant to give you confidence in completing this task while ensuring your data remains fully intact.
What Is Your Apple ID and Why Changing Its Email Matters
Your Apple ID is the account used across all Apple services—iCloud, App Store, FaceTime, Messages, Apple Music, Find My iPhone, and more. It is typically an email address, and over time, you might want to change it because:
- You no longer use the current email address.
- You want to switch from a third-party email (like Gmail) to an @icloud.com address.
- Your old email address is no longer secure or accessible.
Changing your Apple ID email is not the same as creating a new Apple ID. When done correctly, all your data—including purchases, photos, iCloud content, and subscriptions—remains linked to your account.
Before You Start: Important Things to Know
- You need access to your current Apple ID and password.
- You must have access to the new email address you want to use.
- If your Apple ID is already an Apple domain email (e.g., @icloud.com), you cannot change it to a third-party address.
- Your data is stored on Apple’s servers via iCloud, so your device does not erase anything during this process.
Step 1: Back Up Your iPhone (Optional but Recommended)
Even though changing your Apple ID email won’t delete your data, it’s smart to back up your iPhone as a precaution.
To back up with iCloud:
- Go to Settings > [Your Name] > iCloud > iCloud Backup.
- Tap Back Up Now.
To back up with a computer:
- Connect your iPhone to your Mac or PC.
- Open Finder (macOS Catalina or later) or iTunes (macOS Mojave or Windows).
- Select your iPhone and click Back Up Now.
From my personal experience, this gives you peace of mind in case anything unexpected happens during the Apple ID update.
Step 2: Sign Out of Other Devices (If Needed)
To avoid sync issues or login prompts during the change, sign out of other Apple devices temporarily.
To sign out:
- On any other iPhone, iPad, or Mac signed in with your Apple ID, go to Settings > Apple ID > Sign Out.
- You can always sign back in after the email change is complete.
If you only use one device, you can skip this step.
Step 3: Check If You Can Change the Apple ID Email
Not all Apple IDs can be changed.
To check:
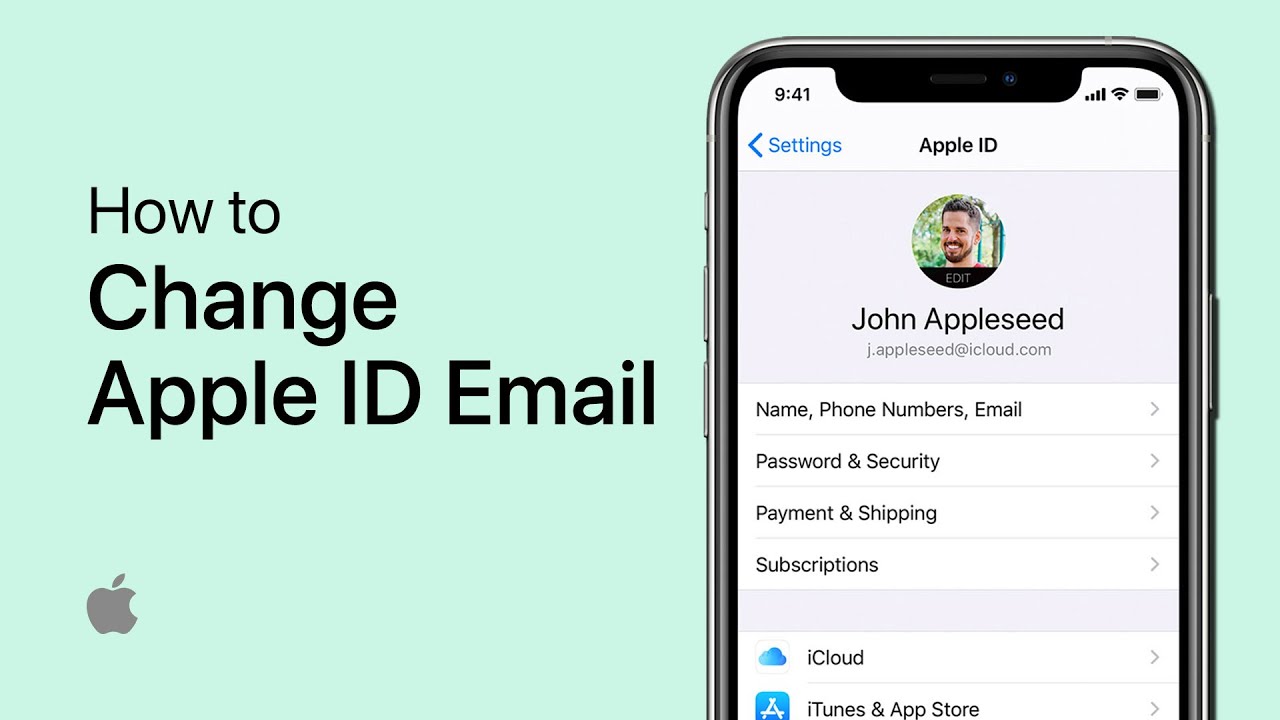
- Go to Settings > [Your Name] > Name, Phone Numbers, Email.
- Tap Edit next to Contactable At.
- If the email is a third-party address (like Gmail, Outlook), you can change it.
- If it’s an Apple email (e.g., @icloud.com), you can’t change it to a non-Apple email.
Step 4: Change Your Apple ID Email
You can change the email directly from your iPhone or through Apple’s website.
Method 1: On your iPhone
- Open Settings.
- Tap [Your Name] > Name, Phone Numbers, Email.
- Tap Edit next to Contactable At.
- Tap the red minus button next to your current email and then Delete.
- Tap Continue when prompted.
- Enter the new email address you want to use.
- Enter your Apple ID password to confirm.
- A verification code will be sent to the new email address.
- Enter the verification code to finish.
Method 2: On Apple’s website
- Go to applesupport and sign in.
- Under Account, click Edit.
- Click Change Apple ID.
- Enter your new email and confirm the code sent to it.
Step 5: Sign In Again and Verify Your Settings
Once the Apple ID change is confirmed, sign back in using your new email address.
On your iPhone:
- Go to Settings > [Your Name].
- If prompted, sign in again using the new Apple ID email and your existing password.
Check all synced services:
- Photos
- Contacts
- iCloud Drive
- Notes
- Calendar
All you data should still be there. In my experience, Apple seamlessly transfers everything when the account is properly updated.
Step 6: Re-sign Into Other Devices and Services
If you use your Apple ID on more than one device, repeat the following on each one:
- Go to Settings > Sign In to your iPhone (if signed out).
- Enter your new Apple ID email and password.
- Re-enable services like iCloud, Messages, and FaceTime.
Also update your Apple ID credentials in apps and services like:
- App Store
- iTunes
- Apple Music
- Apple TV+
- Find My iPhone
Step 7: Update Email in Key Apple Services (If Needed)
While your Apple ID is updated, some services may require manual sign-in with the new email:
- iCloud on Mac or Windows
- Apple Mail
- Family Sharing settings
Make sure to update it in places where your email is used for communication or access recovery.
Frequently Asked Questions
Will I lose my photos or iCloud data?
No. As long as you change your Apple ID email without creating a new account, your iCloud data stays linked and intact.
Can I use an @icloud.com address as my new Apple ID?
Yes. If you have created an @icloud.com alias, you can switch to it permanently. But once done, you cannot switch back to a third-party email.
What happens to purchases and subscriptions?
Your purchases, downloads, subscriptions, and Apple services remain linked to the same account, even after changing the email.
Final Thoughts
Changing your Apple ID email is a straightforward process that doesn’t result in any data loss—as long as you’re changing the email on your existing account, not creating a new Apple ID. I’ve done this on multiple iPhones and Macs, and everything—from photos to contacts to subscriptions—remained untouched. Always ensure your new email is secure and accessible. Also, use this opportunity to enable two-factor authentication if you haven’t already for added security.