Oliver holds a B.S. in Environmental Science with coursework in data analysis and has 7 years of reporting on conservation, parks, and practical technology for daily living. He focuses on climate literacy, resource guides for households, and approachable app workflows. His series on urban tree canopies received a city sustainability recognition. He is a coffee enthusiast and a weekend cyclist. Oliver edits environment stories, develops printable resources, and reviews service guides for clarity and impact.
Learn how to manually install Bluetooth drivers in Windows. Step-by-step instructions to fix missing Bluetooth, update drivers, and restore wireless connectivity.
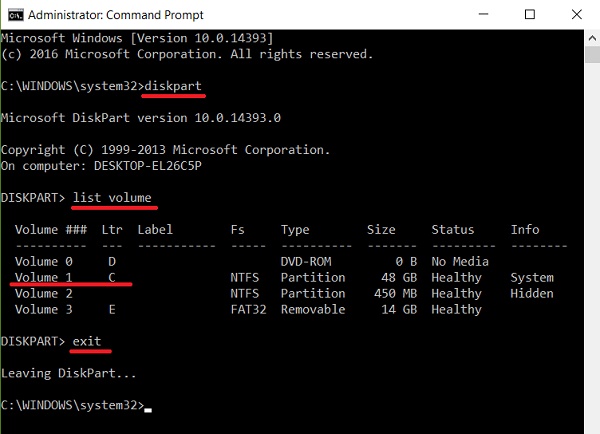
Learn how to partition your hard drive during Windows installation with this step-by-step guide covering partition creation, formatting, and installation setup.
Learn how to move Windows to another drive without reinstalling by cloning your system, configuring BIOS, and verifying the migration with this step-by-step guide.
Learn how to uninstall Windows updates causing issues with this step-by-step guide covering Settings, Control Panel, Safe Mode, and command-line methods.
Learn how to manage app permissions in Windows 10 and 11 settings to control access to your camera, microphone, location, and more. Step-by-step guide.
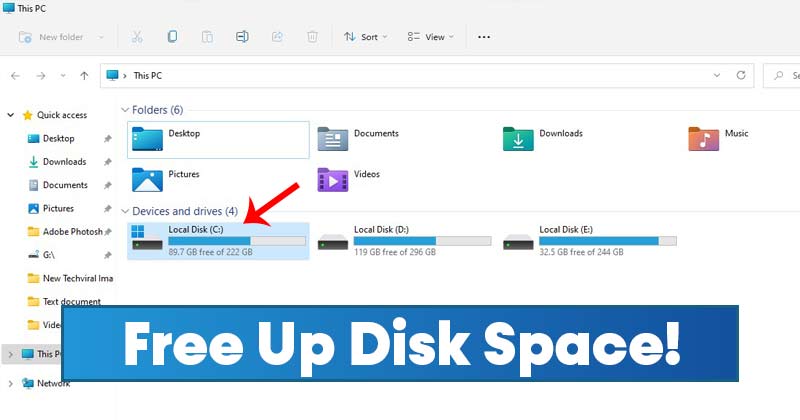
Learn how to free up disk space on Windows 10 and 11 with this comprehensive guide. Optimize your PC's performance by removing unnecessary files and applications
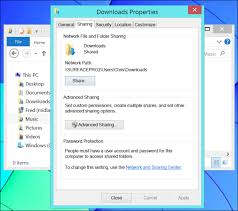
Setting up a local network for file sharing in Windows 10 and Windows 11 in April 2025 is a straightforward process that can significantly improve your productivity and convenience when working with multiple computers. By following these steps carefully, you can easily share files and folders across your home or small office network.
Creating backups and restore points in Windows 10 and Windows 11 in April 2025 is a straightforward process that can save you from significant data loss and system instability. By following these steps, you can proactively protect your valuable information and ensure a smoother computing experience. Make it a part of your regular computer maintenance routine.