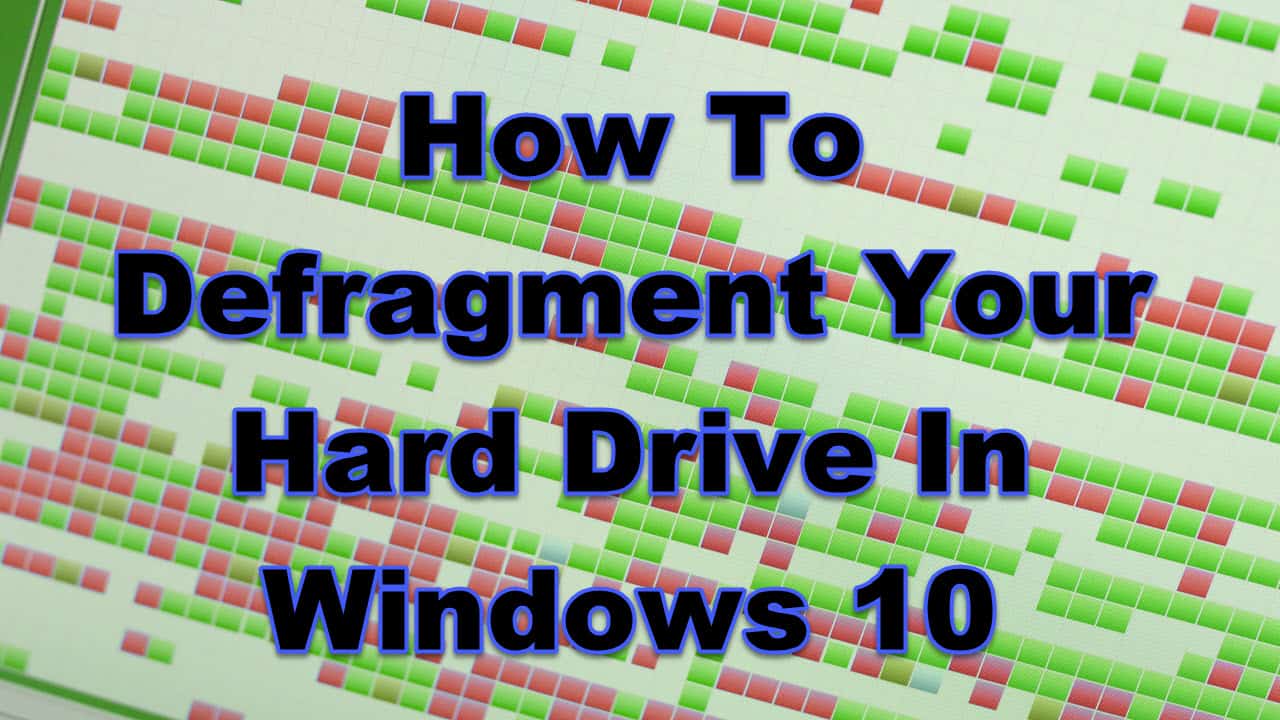
Over time, as you save, change, and delete files on a traditional mechanical Hard Disk Drive (HDD) in your Windows 10 laptop, pieces of those files can get scattered across the disk. This is called fragmentation. When your computer needs to open a file, it has to search different locations on the disk to find all the pieces, which can slow things down.
Defragmentation is the process of reorganizing those scattered pieces so that parts of the same file are stored closer together. On older, mechanical HDDs, this can sometimes help improve file access speed and overall system responsiveness. I’ve definitely noticed a slight performance boost on older laptops with HDDs after defragging them.
What is Fragmentation?
Imagine your hard drive as a filing cabinet. When it’s new, you put files neatly in order. As you add, remove, and change files, spaces open up, and new files might get split up into pieces to fit into those available spots. Fragmentation is like having one document stored in multiple scattered folders throughout the cabinet instead of all together in one place.
Why Defragment a Hard Drive (HDD)?
On a traditional HDD, which has physical spinning platters and a read/write head that moves across them, fragmentation means the head has to move around more to gather all the pieces of a file. This extra physical movement takes time, slowing down file access. Defragmenting puts the pieces back together so the head can read them sequentially, reducing movement and potentially speeding things up.
IMPORTANT WARNING: SSDs and Defragmentation
This is CRITICAL to understand. Solid State Drives (SSDs) work completely differently than HDDs. SSDs use flash memory chips and have no moving parts. The location of file pieces on an SSD does not significantly impact access speed because the drive can access data electronically anywhere just as quickly.
SSDs DO NOT need traditional defragmentation. In fact, the process of repeatedly moving data around during a traditional defrag can potentially contribute to wear and tear on the flash memory cells, reducing the lifespan of the SSD.
Windows 10 is smart. The built-in “Optimize Drives” tool handles SSDs differently. When you select an SSD in this tool and click “Optimize”, Windows 10 performs a Trim operation, not a defrag. Trim helps the SSD manage its storage more efficiently but is not the same as defragmentation and does not cause the same wear.
In summary: ONLY defragment traditional HDDs. Never manually defragment an SSD. The Windows 10 Optimize Drives tool knows the difference if you select the correct drive type.
How to Defragment a Hard Drive (HDD) in Windows 10
Windows 10 has a built-in tool, now called “Optimize Drives” (it used to be called Disk Defragmenter), that handles this process for both HDDs and SSDs correctly.
Step 1: Open Optimize Drives
- Click on the Start button or the search bar on your taskbar.
- Type “defragment” or “optimize drives”.
- Click on the search result that says “Defragment and Optimize Drives”.
Step 2: Select the Drive (Choose Your HDD!)
- The Optimize Drives window will open. You’ll see a list of your computer’s drives.
- Look at the ‘Media type’ column. It will say either “Hard disk drive” or “Solid state drive”.
- Crucially, select only the drive(s) that show “Hard disk drive”. Do NOT select drives that say “Solid state drive” for manual defragmentation.
- Click on the specific HDD you want to defragment.
Step 3: Analyze the Drive (Optional but Recommended)
- With the HDD selected, click the ‘Analyze‘ button.
- Windows will quickly analyze the fragmentation level of the drive.
- The ‘Current status’ column will update to show the percentage of fragmentation. If it’s 5% or more, defragmentation might be beneficial.
Step 4: Defragment the Drive
- If you analyzed the drive and want to proceed with defragmentation (only on an HDD!), click the ‘Optimize’ button.
- The ‘Current status’ column will change to show the progress (e.g., “Defragmenting Pass 1…”).
Step 5: Wait for Completion
- The defragmentation process can take anywhere from a few minutes to several hours, depending on the size of the drive and how fragmented it is.
- You can continue to use your laptop while it’s defragmenting, but you might notice a slowdown in performance.
- The ‘Current status’ will eventually update to show the fragmentation level after optimization, ideally 0% or close to it.
Step 6: Check Optimization Schedule
- By default, Windows 10 is set to automatically optimize your drives on a schedule (usually weekly).
- In the Optimize Drives window, you can see when the next scheduled optimization is planned.
- You can click ‘Change settings’ to modify the schedule frequency (Daily, Weekly, or Monthly) or turn it off, though keeping it on is recommended for HDDs. Remember, Windows handles SSDs correctly during these scheduled optimizations too (using Trim).
How Often Should You Defragment an HDD?
For most users with HDDs, relying on the automatic weekly optimization schedule in Windows 10 is sufficient. Manual defragmentation is usually only needed if you’ve disabled the schedule, just performed a massive file transfer, or notice significant slowdowns that you suspect are due to fragmentation on an HDD.
Using the Optimize Drives tool in Windows 10 is the correct way to manage your hard drives. Remember the golden rule: defragment HDDs to potentially improve speed, and NEVER manually defragment SSDs, trusting Windows to handle them correctly with Trim.


