Elijah holds a B.A. in Journalism and a certificate in narrative nonfiction. He brings 12 years of service journalism and digital publishing experience, from metro features to national lifestyle desks. His expertise includes explanatory reporting, accessibility, and translating research into everyday action. He received a regional Society of Professional Journalists award for solutions reporting. Off duty, Elijah is a weekend cook and a sunrise photographer. At Living Breathless he sets editorial standards, coaches writers, leads special projects, and ensures every story delivers clear value to readers.
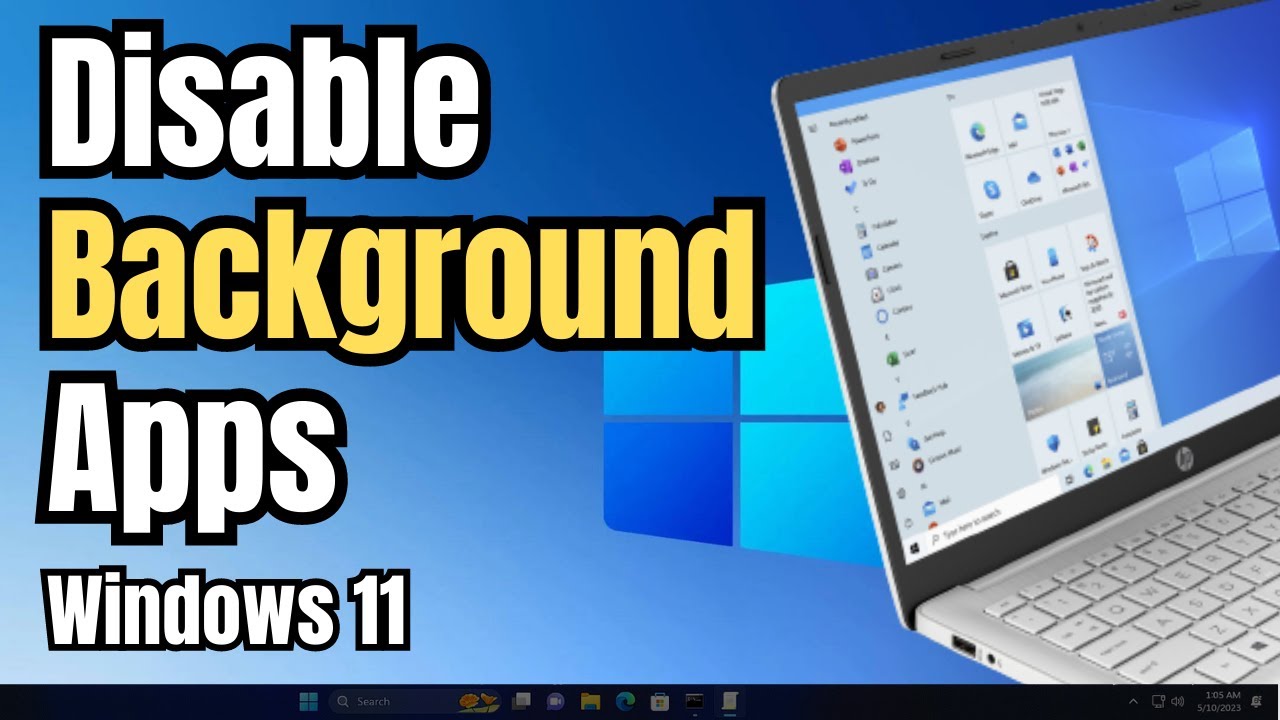
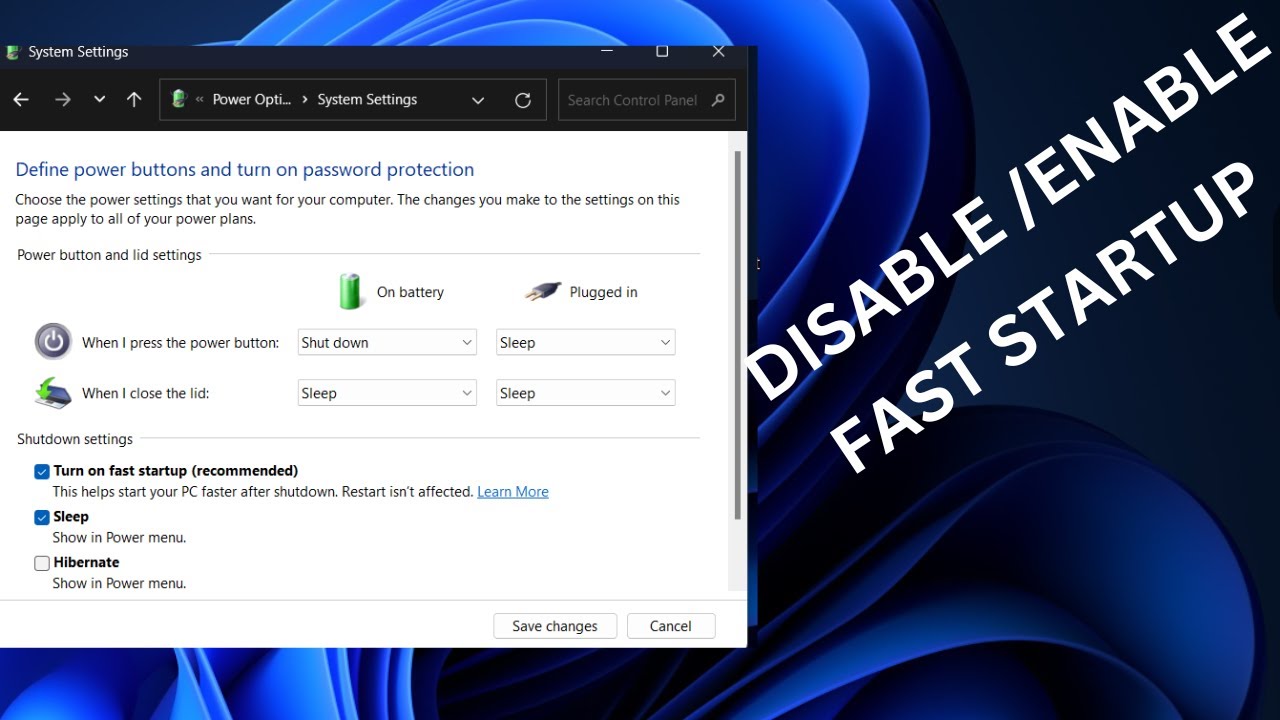
Boost Windows performance! Learn how to disable background apps, manage startup programs, and optimize power settings for a faster, more responsive PC.
Installing an SSD in your laptop in April 2025 is a fantastic way to dramatically improve its performance. By following these detailed steps for compatibility, physical installation, and setup, you can enjoy faster boot times, quicker application loading, and a significantly more responsive computing experience.
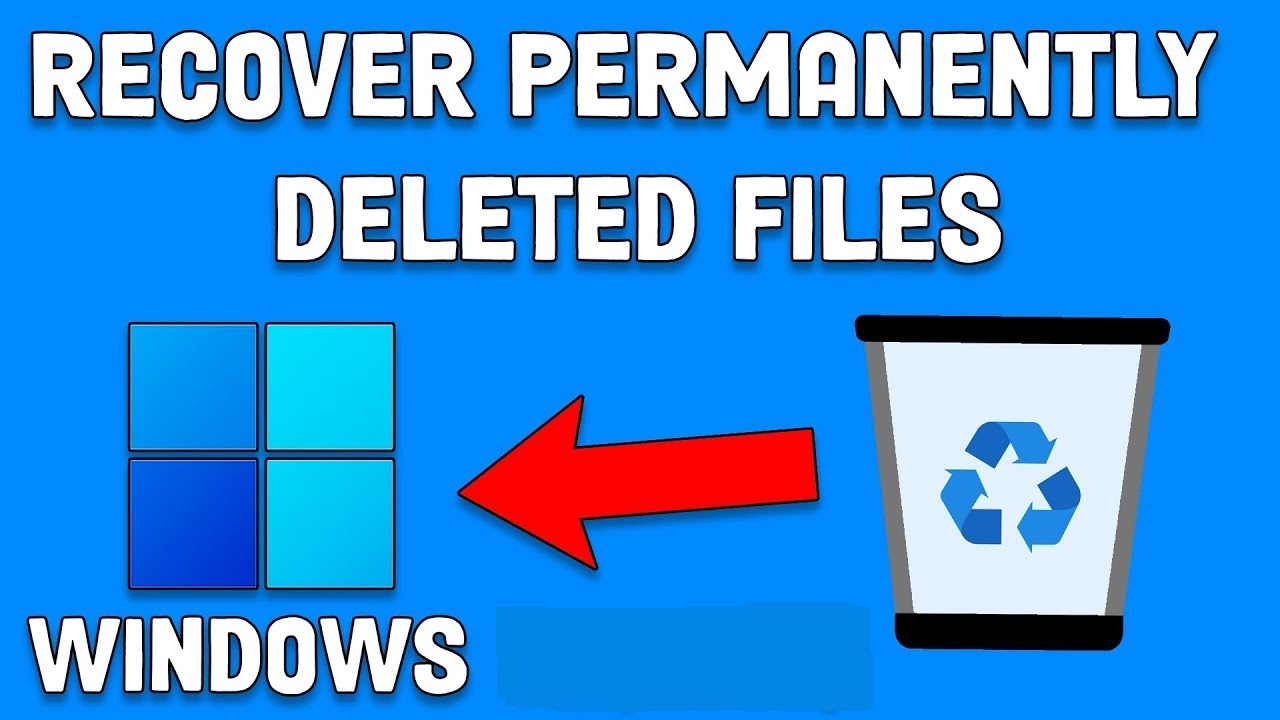
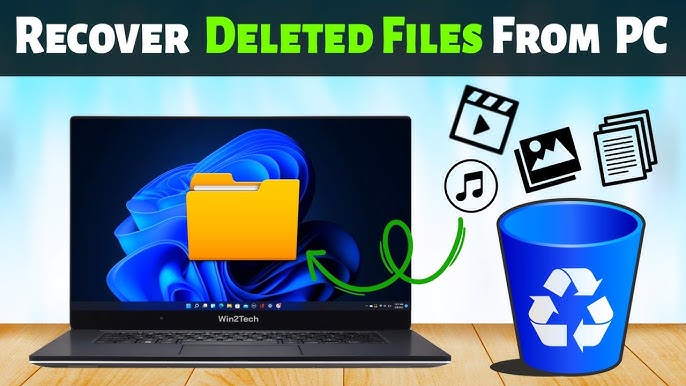
Recovering lost files on a Windows computer in April 2025 is possible, but it's not always successful. By following these steps and acting promptly, you can increase your chances of retrieving your valuable data. However, remember that prevention through regular backups is always the most reliable solution.